Revisions by example
This is a step-by-step example of the life-cycle of a document. Though a real revision process is more complex and long, here you'll find a graphic explanation of all the changes that constitute the basic steps of this process.
Why using revisions is a good idea
Revisions are not necessary: if you prefer you can work with documents that remain new and available to everybody during all their productive life, but this means less security on the files, no reference of the document's history and no definite hierarchy of rights on a network.
We strongly advice you to learn how to handle revisions and use them from now as they make your approach to documents archiving neater and more efficient, in a word: professional.
Starting a revision process
If you do not have enabled options such as
Open/Save→Save as→![]() Automatic check-in after a DBWorks 'Save as'
Automatic check-in after a DBWorks 'Save as'
Open/Save→Save as→![]() Automatic check-out after a check-in
Automatic check-out after a check-in
when you save the first time a component, it is registered as NEW (=green colored) record.
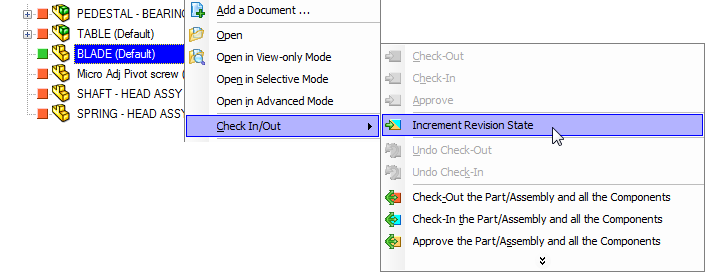
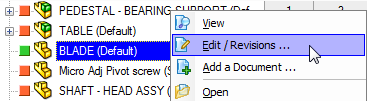
to start revision process, you've to localize it in the browser, click with right mouse button and choose
Check In/Out Edit/Revisions or in a single step Increment Revision State:
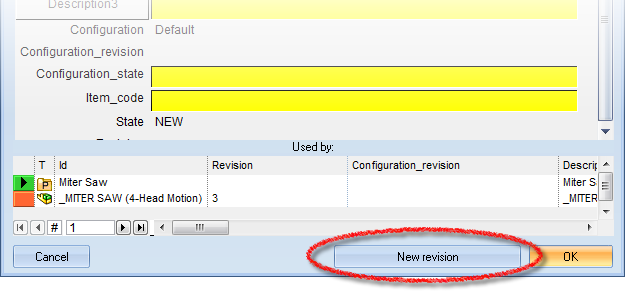
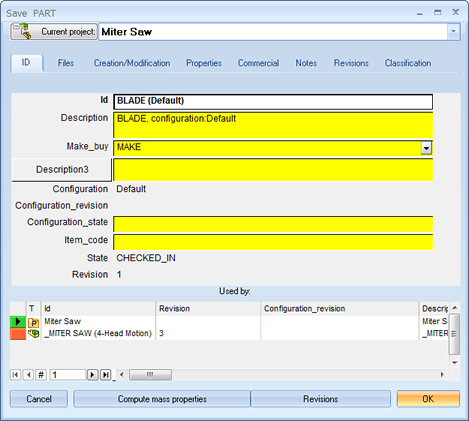
A new data form opens allowing the editing of the fields. Since the object is marked as new (never revised) the button New revision appears at the bottom of the window. Click it.
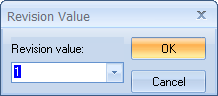
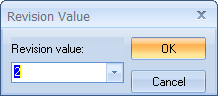
We name this revision as Revision1; alphanumeric values are also possible.
Every revision process has it's own data managed separately in a data form. For further information about the revision data form, read the topic The revision form.
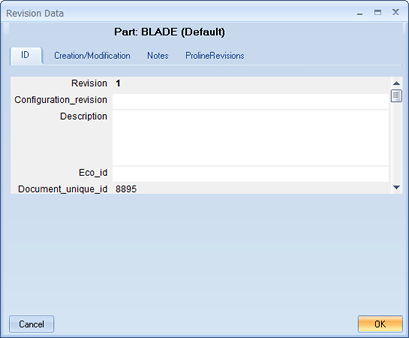
Since this is the first revision no previous revisions are listed. Click OK and wait until the object information is compressed and stored.
Working on the document
Now the part Chuck is pale blue, which means that it's Checked in. This state represent a document for which the process to build a new revision has been started. Any user can open the part for viewing but in order to modify it has to check it out and thus take charge of the part for a certain period. From this point the possible actions for the object are Check out, Approve, Undo checkin.
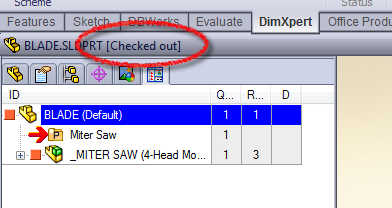
What you do next is check out the part. Here checking out a part will mean that you take charge of the part in order to bring about modifications in SolidWorks. In the meanwhile no other user can do the same, though the part is still available for viewing.

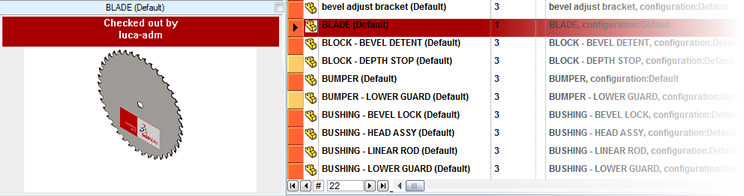
After giving the command to check out (unless you have enabled the option Open/Save→![]() Don't open document on checkout) SolidWorks loads the object in the background and the part is marked in red both in the grid and in the tree. In the preview box too.
Don't open document on checkout) SolidWorks loads the object in the background and the part is marked in red both in the grid and in the tree. In the preview box too.
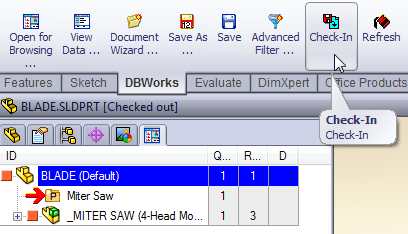
Now you can modify the part in SolidWorks and save it. After closing the document in SolidWorks you may decide to accept the changes by checking in again or reject them by choosing undo checkout. In this case we accept them by choosing check in again:
A data form opens to let you modify where necessary the fields' values.
After accepting with OK the part is in check in state. For network notifications of the changes, please read the topic
Approving a revision and releasing the product
Now you approve this version thus obtaining a release version. Click Edit / Revisions, then Revisions.

A window like the following is displayed:
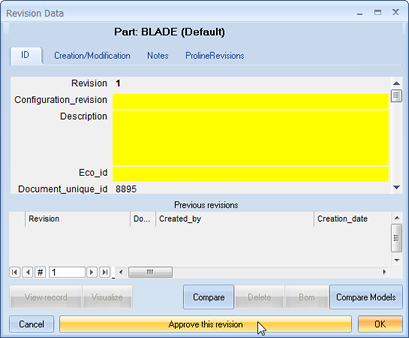
If you click on Approve you will make it a release version.
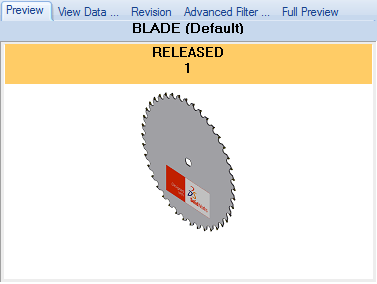
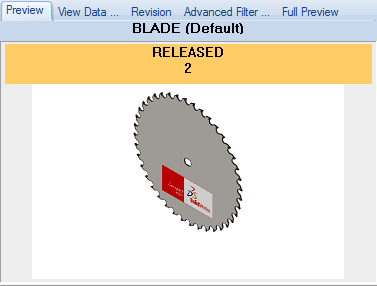
The object is compressed and saved. This may take a while depending on the complexity of it. Now the part is brown and if you go to the revisions window you will notice a revision in the list and the preview window indicates that the document has been put in RELEASED state.
Further revisions
Now, following the previous procedure, we create a second revision for the same object.

The new revision is not immediately displayed in the list of released version as it is still a work in progress: we still don't have a release 2, but we're editing release 1 and going towards a second release.
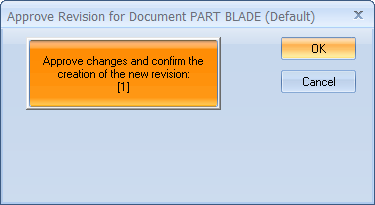
When we approve this version, MechworksPDM displays a dialog on screen:
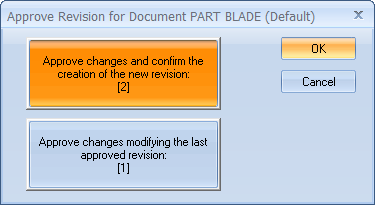
We create a new revision or update the last one, and in the latter case the previous version will be lost. I'll create a new one.
Visualization of a previous revision
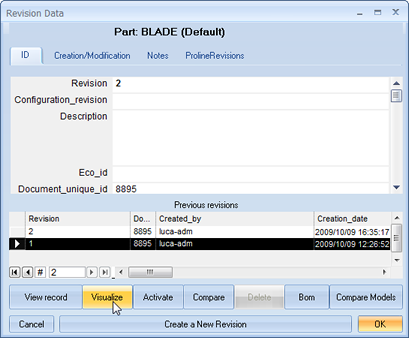
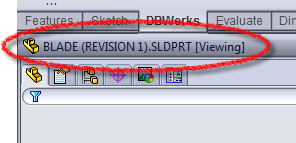
It is possible to display a previous version as a read only file. To do so, in the Revision form select one of the previous revision and click the button Visualize.
The document is open as a red only file:
BOM Compare Report
In the Tree Page select an item, then click the tab in the right, lower section Previous Revisions
Right click an item and select Compare
.
MechworksPDM displays an html report of the comparison between the revisions:
Visualize Drawing of a specific revision
In the RMB of the Previous Revisions grid it is available a Visualize Drawing entry that displays the name of the previous revision of a linked drawing.
Please note as limitation, when you visualize a previous revision for a drawing, the custom properties of the type $PRP_SHEET (pointing to the model) are not updated accordingly to the selected previous revision. In case, you can use the $PRP type notes to see them properly updated.
Activation of a previous revision
Activating a previous revision means opening a previous released version as an editable file. A new file is created beside the original or, optionally, in another directory with a name that indicates both from which document and which version it has been copied:
![]()
Activation can be performed only while the document is currently in RELEASED state.
To activate a previous revision, select a previous revision in the Revision form and click the button Activate. A dialog asks you if you want to open the file obtained from the activation:
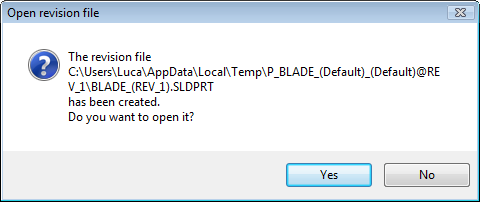
You can work with this document and use it, for instance, to test compatibility of an old part in a new machine. Mind that the document created by the activation leaves no track in the database unless you save it. If you want to keep a working reference of this older version, you need to save it and create a record in the database. In this case the document is saved as a brand new document, hence in state NEW.
This case can be useful if you intend to start a new production line from an old version of one of your documents.
Otherwise, if you simply intend to 'undo' one or more of the latest revisions, use the rollback.
 Please note that this command is valid only for the currently selected record and not for its children. If you perform this command on an assembly you won't activate older revision for its children too, but only on the assembly file, and missing file will be reported.
Because of this, to activate an older revision for an assembly and all its children, you have to use the specific functionality Restore a previous revision for the node and all the children you can find in the button bar of the TreePage. ![]()
A message box will inform you about this.
The documents exits the productive cycle: Freeze
When a document becom obsolete and it is not meant to undergo any further development, you can Freeze it.
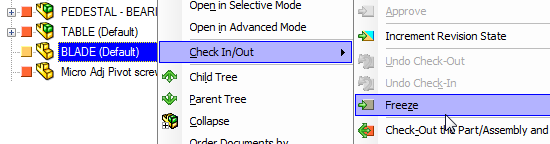
When you give a freeze command the familiar edit note appears to let you insert a few notes before declaring the part OBSOLETE.
Click OK. Now the part is obsolete and is marked in grey.
You will be able to view the part but as a read only document will not be allowed to work on any new version of it. The life cycle of the document is over.